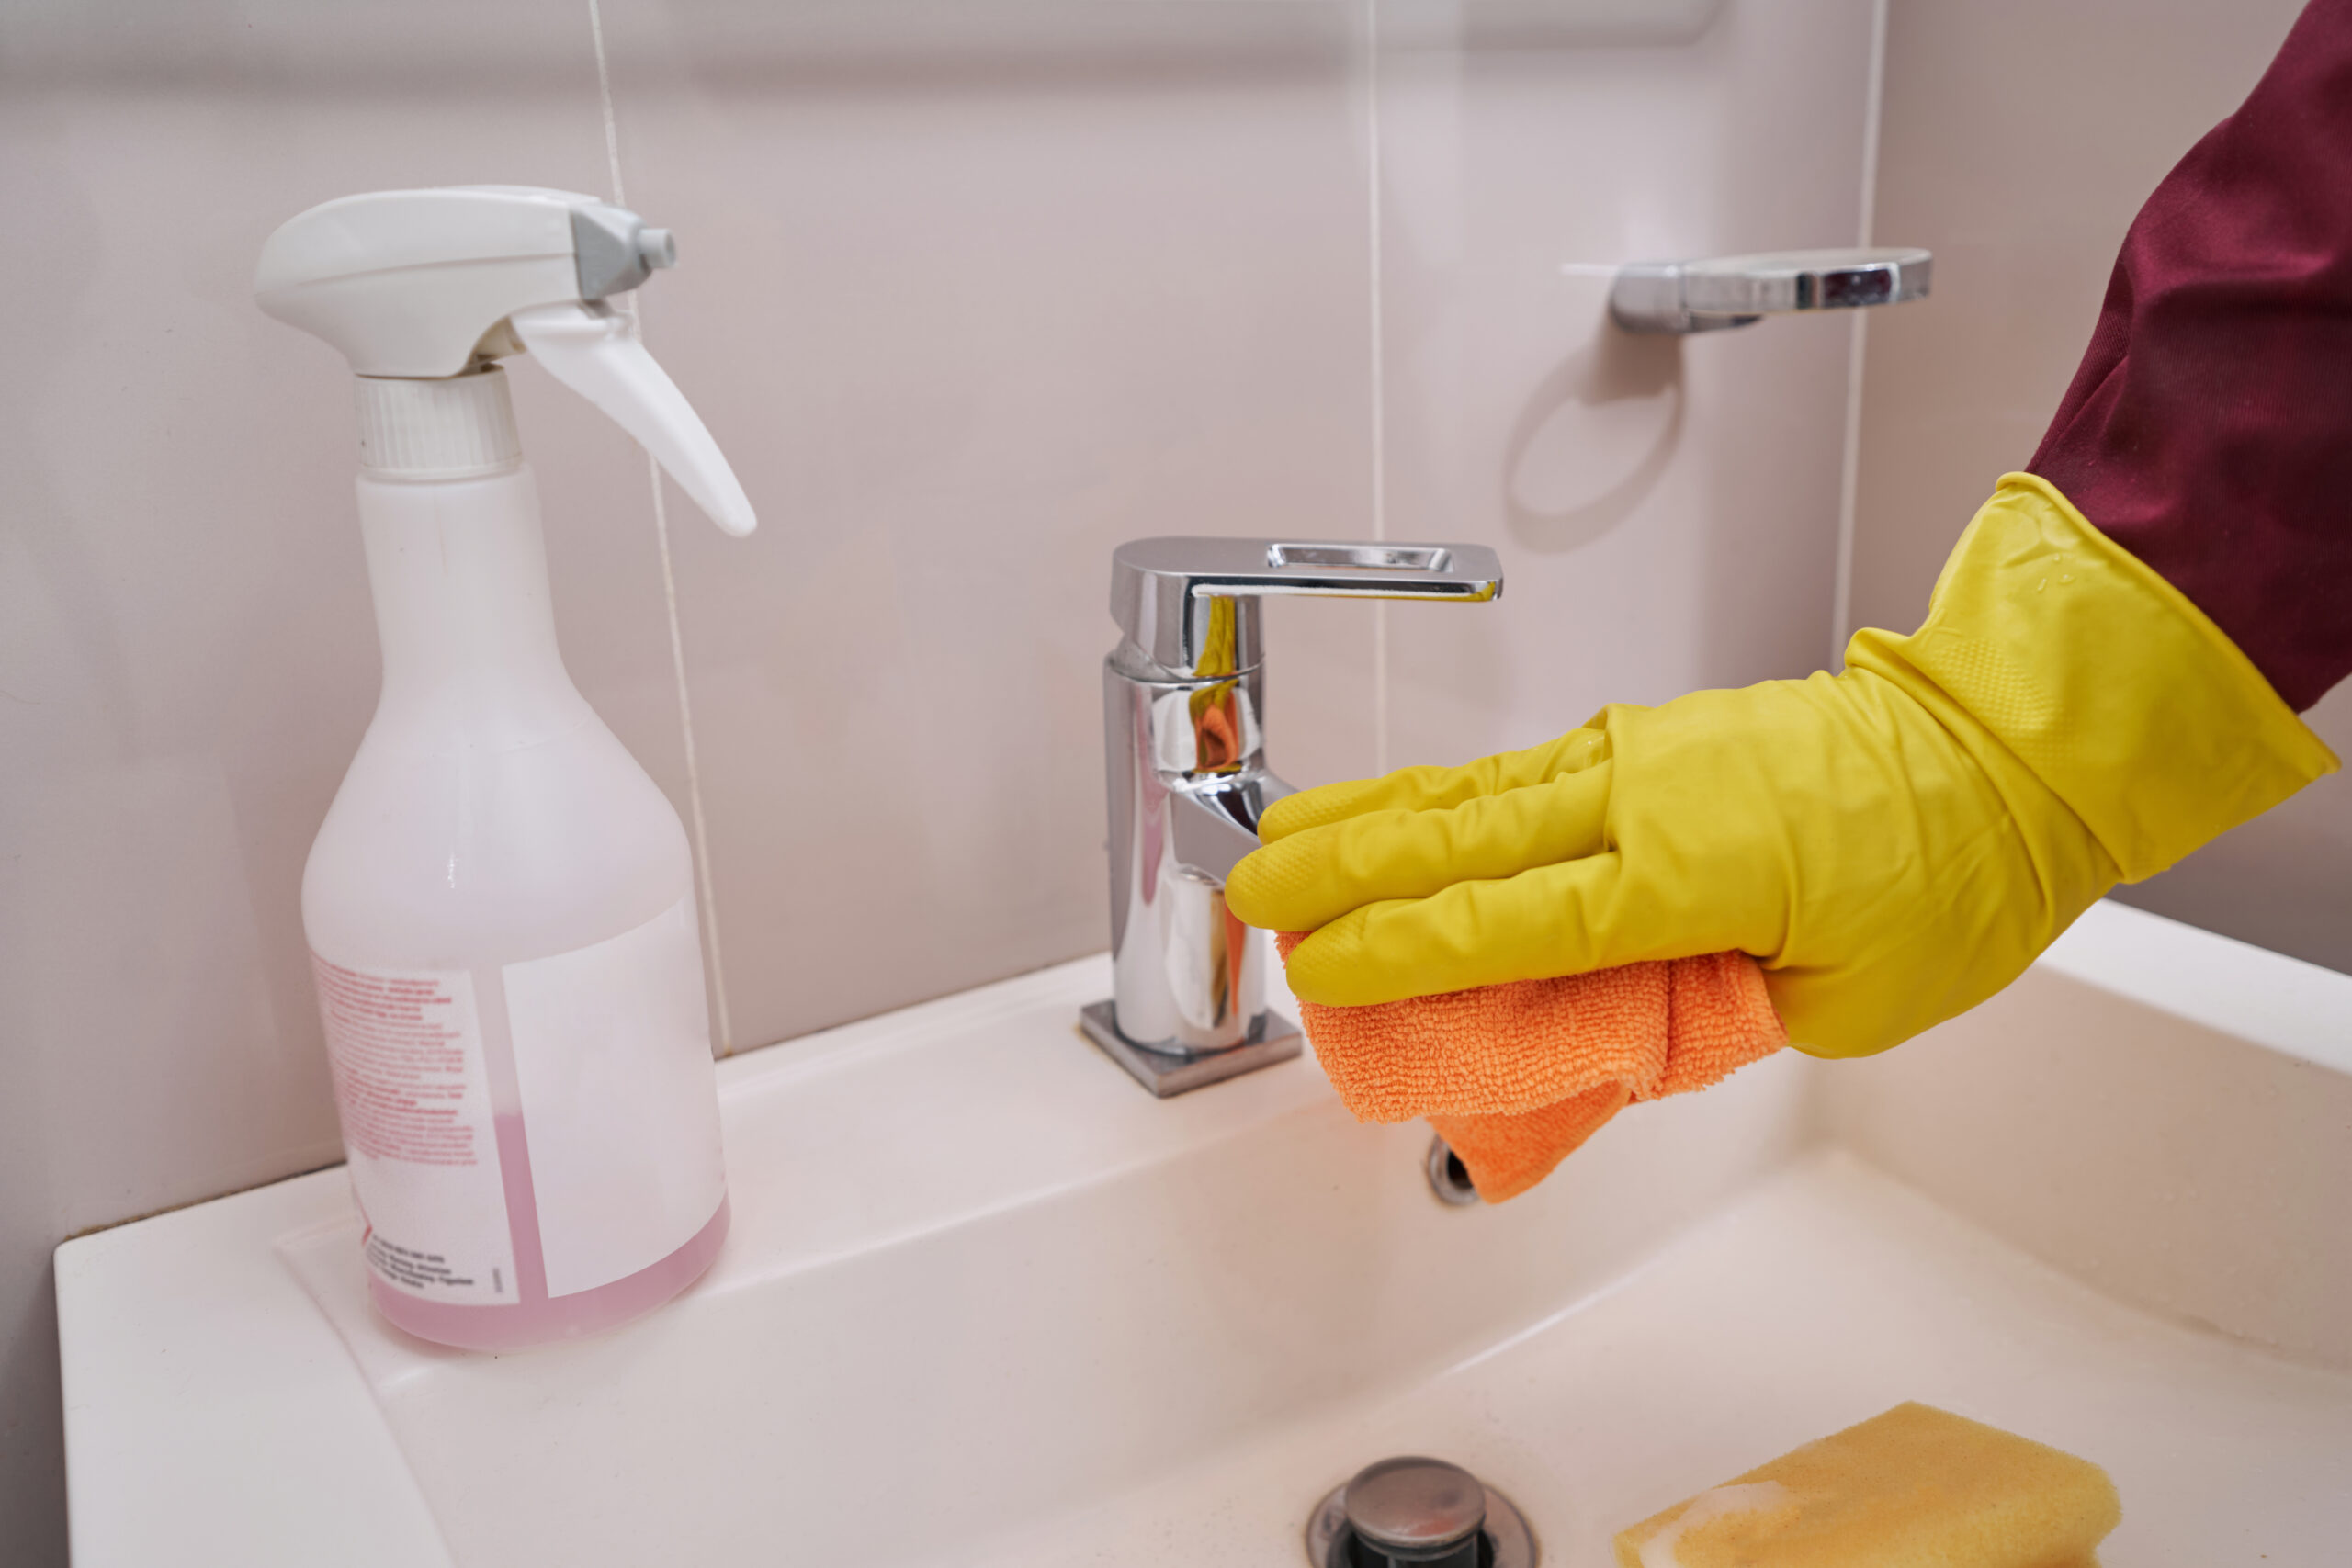
A shiny bathroom faucet boosts your bathroom’s look. It also shows a clean, well-kept space. Over time, faucets collect grime, hard water stains, and soap scum, making regular cleaning essential. Here’s how you can clean your bathroom faucets effectively using simple steps and natural solutions.
How to Clean your Bathroom Faucets?
Materials You Will Need
- Soft cloth or microfiber cloth
- Mild dish soap
- Baking soda
- White vinegar
- Old toothbrush
- Dental floss
- Plastic bag
- Rubber band
- Polishing cloth
Step 1: Identify Your Faucet’s Material
Different faucet materials, such as chrome, stainless steel, brushed nickel, or oil-rubbed bronze, require specific cleaning techniques. Check the manufacturer’s guidelines to avoid damaging the finish.
Step 2: Perform Routine Cleaning
Start by mixing a few drops of mild dish soap in warm water. Dip a soft cloth into the solution and wipe the faucet, focusing on the base, handle, and spout. For tight areas, use a toothbrush to gently scrub away grime.
Pro Tip: After every use, wipe the faucet dry to prevent water spots from forming.
Step 3: Tackle Hard Water Stains
If you notice white or chalky spots on your faucet, you’re likely dealing with hard water stains. Create a mixture of equal parts white vinegar and water. Soak a cloth in this solution and wrap it around the stained areas. Let it sit for 15-20 minutes before wiping clean.
Step 4: Clean Around Tight Spaces
Use dental floss to clean the narrow spaces around the base of the faucet and the edges. Move the floss in an up-and-down motion to remove hidden grime effectively.
Step 5: Remove Calcium Buildup
For stubborn calcium deposits, fill a small plastic bag with a vinegar solution and secure it around the faucet with a rubber band. Leave it to soak for one to two hours. Remove the bag and scrub the loosened buildup with a toothbrush.
Step 6: Scrub with Baking Soda
Make a paste using baking soda and a few drops of water. Apply it to areas with stains or buildup. Use a toothbrush to scrub gently in a circular motion, then rinse thoroughly.
Step 7: Rinse and Dry
Rinse the faucet with warm water to remove any remaining residue. Use a microfiber cloth to dry the surface completely. This step prevents water spots and enhances the shine.
Step 8: Polish for a Lasting Shine
For an extra sparkle, use a polishing cloth or a DIY mixture of water and a few drops of lemon juice. Buff the faucet with gentle circular motions to restore its shine.
Pro Tip: Avoid abrasive cleaners or harsh scrubbing tools, as they can scratch the finish.
Step 9: Prevent Future Build-Up
- Install a water softener if you live in a hard water area to reduce mineral deposits.
- Wipe down the faucet after every use to keep it clean and shiny.
Step 10: Maintain Regularly
Set a routine to deep clean your faucets every two weeks. This simple habit keeps grime and buildup at bay, prolonging the life of your fixtures.
My Personal Experience: I’ve dealt with tough hard water stains. White vinegar and baking soda are lifesavers. A vinegar-soaked cloth, wrapped around the faucet for an hour, works wonders. Don’t underestimate the power of dental floss for those tricky spots; it’s a game-changer!
Frequently Asked Questions
Can I use bleach on my faucet?
Avoid using bleach as it can corrode the finish and damage the faucet over time.
What’s the best way to clean chrome faucets?
Use a mild soap solution and buff with a microfiber cloth for a streak-free shine.
How do I prevent water spots?
Always dry the faucet after cleaning or use a water-repellent spray for added protection.
Final Thoughts
Keeping your bathroom faucet clean doesn’t have to be a daunting task. By following these 10 easy steps, you can maintain a sparkling, spotless faucet that enhances your bathroom’s overall look. With a little consistency and the right materials, your faucets will stay clean and shiny for years to come.